Food photography on a phone: a guide for food businesses
Phone food photography for a small food business: window light, the right angle for each dish, props you already have, a 10-shot list and app-ready photos.
Mapkita Team8 min read
Key takeaways
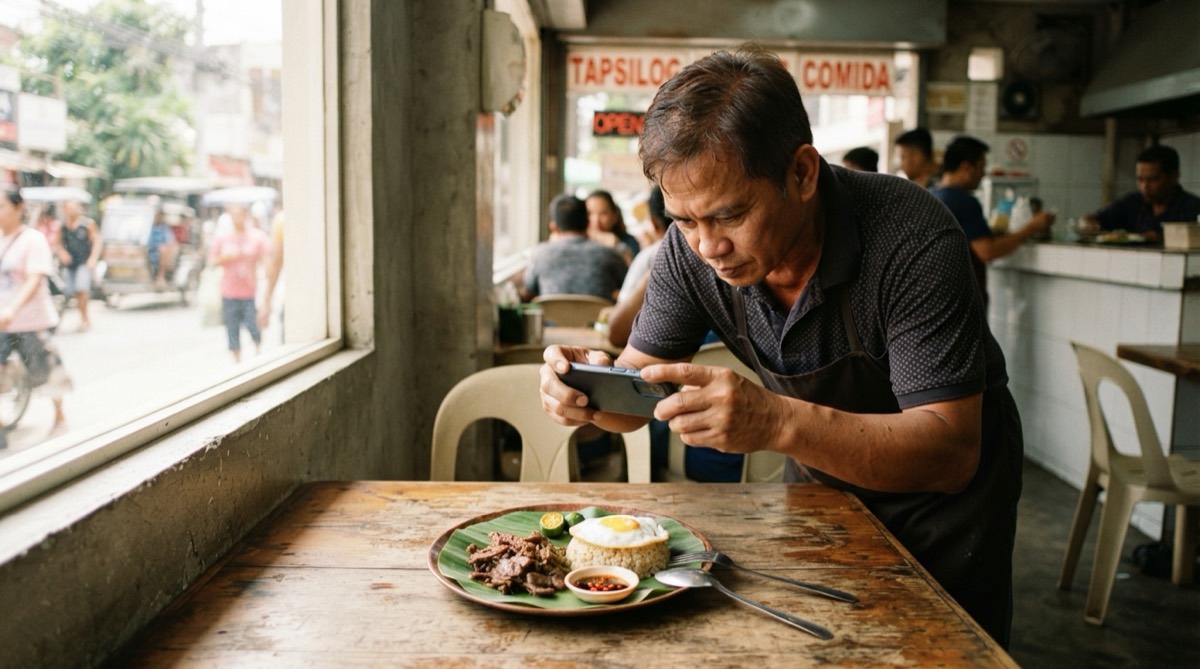
- Shoot next to a window in the morning with the overhead lights and the flash off. Window light alone fixes most bad food photos.
- Match the angle to the dish: top-down for silog plates, pancit and ulam trays, 45 degrees for bowls, and straight from the side for burgers, halo-halo and milk tea.
- Wipe the plate rim, add one fresh garnish and shoot within a minute of plating, before the steam stops and the ice melts.
- Shoot every menu item in the same spot, at the same angle and on the same plate, so your menu, Google profile and delivery apps look like one shop.
Food photography on a phone starts with the light
Good food photography for a small food business needs a phone, a window, a clean plate and the right angle. You don't need a camera or a studio. Light makes the biggest difference, so fix that first.
Take the plate to a table next to a window, turn off the overhead lights and turn off the flash. Grab's food photography guide for merchants gives the same advice: shoot next to a window in the morning, and avoid lamps with an orange tint, which make food look yellow. Fluorescent tubes on the ceiling throw flat, greenish light from above, and the flash makes sauce shine like plastic.
- Best time: mid-morning or mid-afternoon, when the light is bright but the sun isn't shining straight onto the table.
- Direct sun: hang a thin white curtain, or tape baking paper over the window, to soften it.
- Light from the side or slightly behind the food shows texture: the crust on lechon kawali, the grains of garlic rice.
- Dark side too dark: hold a sheet of white cardboard or styro on the side away from the window to bounce light back.
- Rainy-season days and brownouts: window light still works. Grey sky is soft light; just hold the phone steady.
Food photography angles: top-down, 45 degrees or from the side
Each dish has an angle that shows what makes it good. Grab's guide puts it simply: shooting from the side captures layers, and top-down suits food where the detail is on top. Take two or three angles of a new dish, then keep the one that works for every photo of it.
Use the main 1x lens, or 2x if your phone has it. The 0.5x ultra-wide lens bends plates and glasses near the edges. Turn on the grid so the plate sits straight. On iPhone, the grid is in Settings, then Camera; tap the food to focus and drag the sun icon down a little if the plate looks too bright (Apple's camera guide). Most Android camera apps have the same tap-and-slide control.
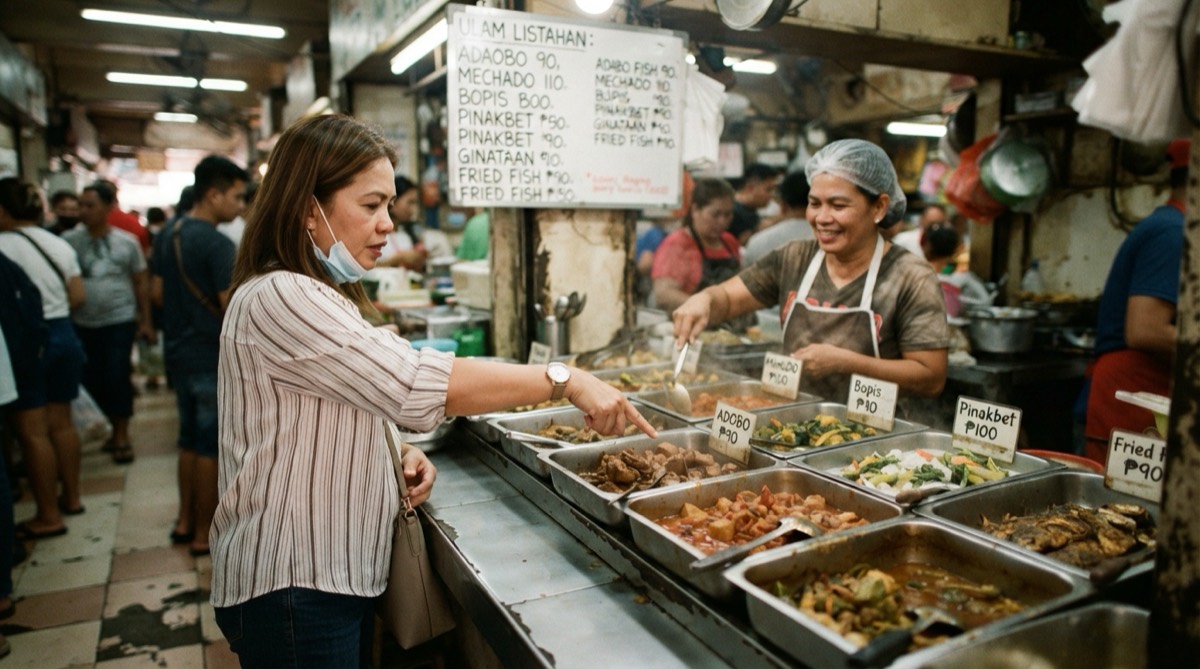
- Top-down, phone flat above the plate: silog plates, pancit, pizza, ulam trays, a boodle spread on banana leaves, a barkada set with several dishes.
- 45 degrees, about where your eyes are when you sit down to eat: bowls of sinigang or ramen, rice meals with height, desserts in a glass.
- Straight from the side, phone at the level of the food: burgers, sandwiches, halo-halo, milk tea and anything with layers you want to show.
- Close-up: one detail people crave, such as the cheese pull, the crispy skin or the pearls at the bottom of the cup. Use it as a second photo, not the main one.
- Portrait mode blurs the background, which helps a side shot in a busy kitchen or counter. Check the edges after: it can blur the rim of a glass, a straw or the steam.
Make it look fresh: plating, steam and the plate rim
Food looks its best for a minute or two after plating, so have the spot, the plate and the phone ready before you cook. Grab's guide suggests making the main dish about 60% of the photo and keeping the plate, napkin and table in one colour palette, so nothing pulls the eye away from the food.
- Wipe the plate rim and any drips with a paper towel. Customers notice a smear before they notice the food.
- Add one fresh garnish that belongs to the dish: chopped spring onion, a calamansi half, a sili, toasted garlic.
- Brush a little oil on grilled or fried meat if it has dried out while waiting. It brings back the shine it had in the pan.
- Steam shows best against a dark background with the window behind the bowl. Shoot right after you pour the sabaw.
- Shoot halo-halo, iced coffee and milk tea first, before the ice melts and the layers mix. Cold glasses look better with their condensation.
- Cut one open to show the inside: a siopao split in half, a turon cut on the diagonal, a sandwich cut and stacked. Use a sharp knife and wipe it between cuts.
- Serve the real portion. If the photo shows more than the customer gets, you are setting up a complaint.
Food photography ideas: backgrounds and props you already have
Keep the background plain so the dish stands out. Grab's guide says wooden, marble and white backgrounds look good with almost any food, and most kitchens have at least one of them: a wooden chopping board, a white table, a clean counter.
Filipino food has its own props, and they look better than anything bought for the photo: banana leaves, a bilao, enamel plates, a palayok, a wooden spoon, a glass of calamansi juice. Use one to three of them, not ten.
- Lay a banana leaf on a bilao for inihaw, rice and kakanin.
- Use your real plates and cups, the ones customers eat from. The photo should match what they get.
- Turn bottles and packs so labels don't face the camera. Brand logos pull the eye away from your food.
- A hand lifting noodles with a fork or pouring sauce adds life. If it's a staff member, ask first.
- Avoid patterned tablecloths, newspapers and anything with writing on it behind the food.
One set for every menu item
Your photos will sit side by side on your menu, your Google profile and delivery apps. A set taken in different places and lights looks like five different shops. Pick one spot, one time of day, one plate style and one angle per type of dish, and shoot the whole menu in one or two mornings.
Prop the phone on a small tripod or a stack of books so every photo is framed the same. Leave space around the dish: apps, Google and Facebook crop photos to different shapes, and a dish that fills the frame edge to edge loses its sides. Name each file after the dish, such as "tapsilog.jpg", so uploading the set later is quick.
Editing food photos: a light touch
Edit only what the camera got wrong. Free apps like Snapseed and Lightroom, which Grab's guide suggests, are enough: straighten, crop, lift the brightness a little and correct a yellow tint. Grab also warns that filters can make food colours look unnatural.
Google's photo guidelines say the same: photos should be in focus and well lit, with no significant alterations or excessive use of filters. Never change the food itself. Don't make the portion bigger, the colour brighter than it is, or add things the dish doesn't come with.
Food photos for delivery apps, Google and Facebook
Shoot once and use the same set everywhere. For your Google Business Profile, Google suggests at least three photos of the food or drinks you serve, starting with your most popular items, in even light (Google's photo tips). Google accepts JPG or PNG files between 10 KB and 5 MB. Check each photo with the free photo check, and see Google Business Profile photos for the shots besides food that customers look for.
For delivery apps, dish photos are part of getting your store live: foodpanda lists uploading your menu and dish photos as a required step to activate a restaurant (foodpanda partner page). Check the photo requirements in your GrabMerchant app or foodpanda partner portal before you shoot, because sizes and rules change. A photo that matches what arrives in the box also protects your rating; how Grab merchant ratings work explains why. Use the same photos on your Facebook Page and your menu, so customers recognise the dish wherever they see it.
A 10-shot checklist for your food business
Shoot this list once, then replace a few photos every month or whenever a dish changes.
- 1. Your best seller, at its best angle, in window light.
- 2. A close-up of the best seller's best detail: the crispy skin, the sauce, the pearls.
- 3. Your second best seller, in the same spot and at the same angle.
- 4. Your third best seller, same set-up again.
- 5. A drink from the side, showing its layers or ice, with condensation on the glass.
- 6. A set meal or barkada spread from above, showing everything you get for the price.
- 7. An action shot: sauce being poured, noodles lifted, halo-halo being mixed.
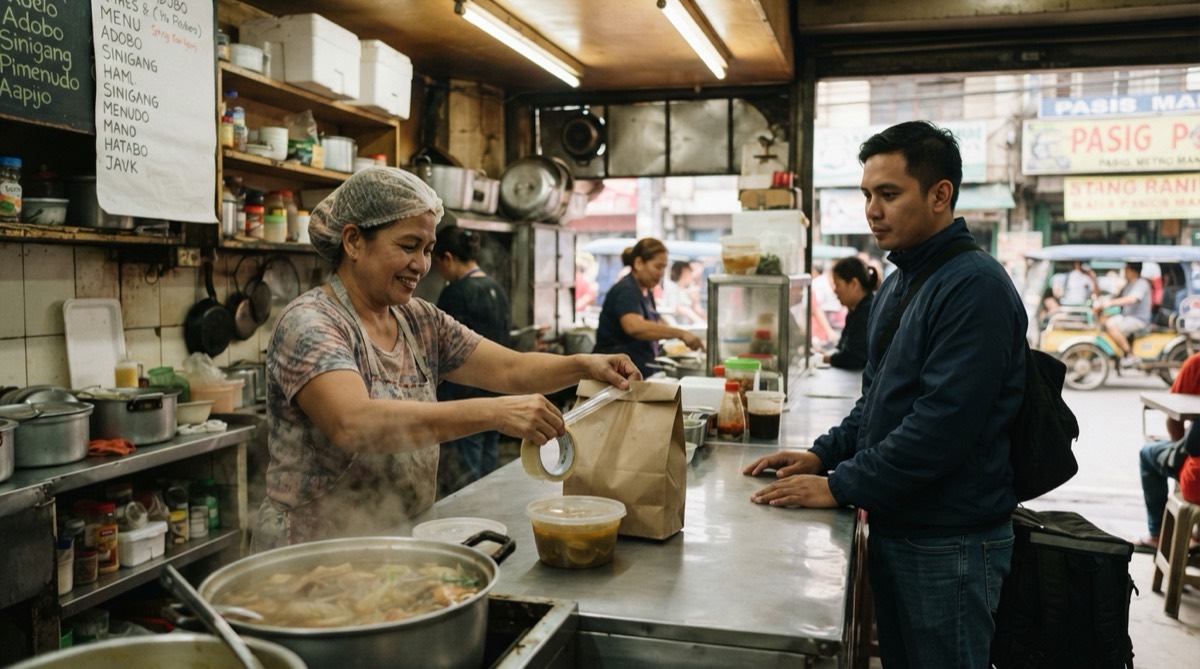
- 8. A delivery order as it arrives: the real packaging, opened, with the food inside.
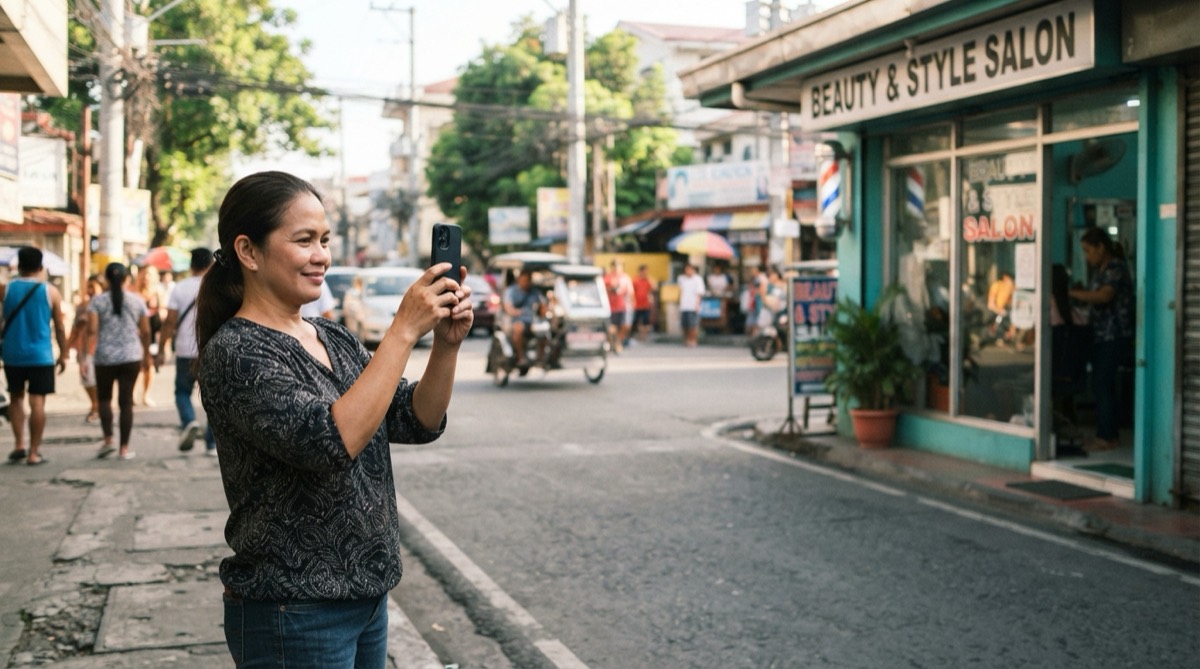
- 9. The storefront from the street, in daylight, so people recognise it when they arrive.
- 10. Your counter or ulam trays with your cook or staff at work, faces shown only with their permission.
Frequently asked
- What is the best angle for food photography?
- It depends on the dish. Shoot flat food like silog plates, pancit and pizza from directly above, bowls and plated meals at about 45 degrees, and layered food like burgers, halo-halo and milk tea straight from the side.
- How do I take good food photos with my phone?
- Put the plate by a window, turn off the flash and ceiling lights, use the 1x lens, tap the food to focus and lower the brightness slightly if the plate glares. Wipe the rim, add one fresh garnish and shoot right after plating.
- What lighting is best for food photography?
- Soft daylight from a window, coming from the side or slightly behind the food. Avoid the flash, overhead fluorescent tubes and orange lamps, and soften direct sun with a thin white curtain or baking paper.
- Do I need a professional food photographer?
- Not to start. A recent phone, a window and a clean plate are enough for your menu, Google profile and delivery apps, and Grab's own photo guide tells merchants to try the devices they already have before hiring a photographer. A professional is worth it later for a launch, a big menu change or printed ads.
- Should I edit my food photos?
- Lightly. Straighten, crop, adjust brightness and fix a yellow tint, but skip heavy filters. Google asks for photos without significant alterations or excessive filters, and the food should look like what customers get.
Let Mapkita do this for you
Mapkita keeps your Google page right, drafts every review reply and asks you before anything goes public. Start with a free check.